Easy Ground Beef and Rice Casserole (No Canned Soup!)
When I set out to prepare this Ground Beef and Rice Casserole, I wanted to create a made-from-scratch dinner that was deeply comforting and dependable without relying on the heavy, processed "cream of" soups found in traditional recipes. The secret to keeping this dish light yet flavorful starts in the skillet.
I begin by searing the ground beef just long enough to build a nice brown color, then I carefully remove it and leave the accumulated fat behind. This one simple step is the difference between a clean, savory sauce and a dish that feels overly oily. By sautéing the onion, garlic, and drained tomatoes in that same pan, we pick up all those delicious browned bits without the unnecessary heaviness.
Because we use uncooked rice, the grains absorb the seasoned beef broth directly as it bakes. Using a precise liquid-to-rice ratio and a tight foil seal, the rice bakes up perfectly fluffy and tender every time. Topped with a generous layer of melted cheddar, this is a "dump-and-bake" meal that tastes like it took hours of from-scratch effort.
While I love the deep, savory flavor of beef, if you're looking for a seafood twist, my Easy Shrimp and Rice Casserole recipe is another one-pan favorite.
Use the Table of Contents below to jump straight to the recipe or explore my expert tips for working with uncooked rice!
Watch How To Make It: Step-by-Step Video
Table of Contents
- Why You'll Love This Beef and Rice Casserole
- Ingredients You'll Need
- Why This Recipe Works (Without Canned Soup)
- The Secret to Perfectly Fluffy No-Boil Rice
- How to Make Ground Beef and Rice Casserole
- Expert Tips for the Best Ground Beef and Rice Casserole
- What to Serve with Ground Beef and Rice Casserole
- Recipe Variations and Ingredient Substitutions
- Storage and Reheating Instructions
- Frequently Asked Questions
Why You'll Love This Beef and Rice Casserole
This Ground Beef and Rice Casserole is the kind of recipe that fits seamlessly into a busy life without sacrificing quality. By skipping the processed canned soups and using simple, everyday staples, you create a meal that is both wholesome and incredibly satisfying.
- One-Pot Simplicity: Everything-from the savory beef to the uncooked rice-comes together in a single baking dish. This means less time scrubbing pans and more time enjoying a filling, home-cooked meal.
- Perfectly Balanced Texture: Unlike traditional casseroles that can become heavy or "mushy," this version features perfectly fluffy rice that absorbs the savory beef broth directly as it bakes.
- Clean-Label Comfort: You can feel good about serving this to your family because it relies on fresh aromatics like garlic and onion rather than artificial thickeners or excess sodium.
- Incredibly Forgiving & Flexible: Whether you are feeding picky eaters or looking for a dependable meal-prep option, this recipe holds its texture beautifully and tastes even better the next day.
- From-Scratch Flavor: By searing the beef and draining the excess fat, you ensure a clean, rich flavor profile that highlights the quality of your ingredients.
Ingredients You'll Need

- Ground Beef: I recommend using lean ground beef (90/10) to ensure the casserole is hearty without being overly greasy.
- Uncooked Rice: Long-grain white rice is best here because it absorbs the flavorful broth while maintaining a separate, fluffy texture.
- Beef Bone Broth: This is the base of your "no-soup" sauce; it provides the savory liquid needed to cook the rice perfectly.
- Note: Why I prefer Beef Bone Broth - While standard beef broth works perfectly well, I often choose beef bone broth for this casserole when I want a richer final texture and a natural protein boost. Bone broth naturally contains collagen and gelatin, which melt into the liquid as the casserole bakes.
The result is a subtly velvety sauce that coats each grain of rice, making the dish feel more indulgent without adding cream or extra fat. Bone broth also brings a deeper, roasted beef flavor that stands up beautifully to the sharp cheddar cheese.
That said, if all you have is regular beef broth, this recipe will still turn out delicious and reliable.
- Note: Why I prefer Beef Bone Broth - While standard beef broth works perfectly well, I often choose beef bone broth for this casserole when I want a richer final texture and a natural protein boost. Bone broth naturally contains collagen and gelatin, which melt into the liquid as the casserole bakes.
- Diced Tomatoes: Ensure these are well-drained to keep the liquid-to-rice ratio exact and prevent the dish from becoming mushy.
- Fresh Aromatics: Minced garlic and diced onion are essential for building a deep, "from-scratch" flavor profile.
- The Seasoning Blend: A mix of paprika, Italian herbs, salt, and black pepper gives the dish its "dependable and comforting" flavor.
- Shredded Cheddar Cheese: Freshly shredded cheese melts best, creating that beautiful golden crust in the final 15 minutes of baking.
- Diced scallions: While optional here, I often prefer to garnish my casserole with diced scallions or parsley.
Why This Recipe Works (Without Canned Soup)
Traditional beef and rice casseroles often rely on canned soups for flavor and thickness, but that convenience comes at the cost of texture control. In this recipe, the flavor is built by browning the beef and sautéing fresh aromatics, then carried through the dish with a measured amount of beef broth.
As the casserole bakes, the uncooked rice absorbs the seasoned liquid directly, thickening the sauce naturally without added starches. The tight foil seal creates a steam-chamber that ensures the grains stay fluffy and distinct. The result is a richer, more comforting dish with a cleaner finish and better leftovers than traditional soup-based versions.
The Secret to Perfectly Fluffy No-Boil Rice
Many people are hesitant to use uncooked rice in a casserole because they fear it will turn out crunchy or unevenly cooked. However, I always follow these rules in order to achieve a texture that is actually superior to pre-cooked rice because the grains absorb the savory beef broth directly.
1. The Science of the Grain: Why Long-Grain White Rice is Non-Negotiable
Choosing the right rice isn't just a matter of preference; it's a matter of starch chemistry. For a no-boil casserole to succeed, you need a grain that remains structural and distinct after 50 minutes of steaming.
- The Winner: Long-Grain White Rice. This variety is high in amylose, a type of starch that keeps the grains separate and fluffy. It absorbs the beef broth without breaking down into a mushy consistency.
- The Risky Alternative: Jasmine or Basmati. While delicious, these are aromatic rices. Jasmine is higher in amylopectin, which makes it naturally sticky. If used in this recipe, the grains will clump together, creating a dense texture rather than a fluffy one. Basmati is too delicate and often becomes fragile and "broken" during the long bake.
- The "Avoid" List: Short-Grain or Arborio. These are high-starch rices meant for creamy dishes like risotto or sushi. In a casserole, they will release too much surface starch, turning your savory beef base into a thick, gummy paste.
- The Brown Rice Warning: If you choose brown rice, you are dealing with a "bran barrier." The outer hull prevents the broth from penetrating the grain at the same speed as white rice. You cannot swap this 1:1; you must increase the liquid by ½ cup and the bake time by 20 minutes, or you will end up with crunchy-centered rice.
2. The Precision Liquid Ratio
Because the rice is cooking in the oven, you need enough liquid to hydrate the grains but not so much that they become mushy. For this recipe, we use exactly 3 cups of beef broth for every 1.5 cups of rice. This accounts for the moisture also provided by the canned tomatoes.
3. The "Tight Foil Seal"
This is the most critical step in the entire process. You must cover your baking dish with a layer of heavy-duty aluminum foil, crimping the edges tightly around the rim.
- Why it works: The foil traps the steam inside the dish.
- The Result: This steam creates a mini "pressure cooker" environment that ensures every grain of rice is tender and fluffy in this No-Boil Beef and Rice Casserole.
How to Make Ground Beef and Rice Casserole
I used a "hybrid" method for this recipe - starting on the stovetop to build deep flavor and finishing in the oven for that perfect "no-boil" rice texture.
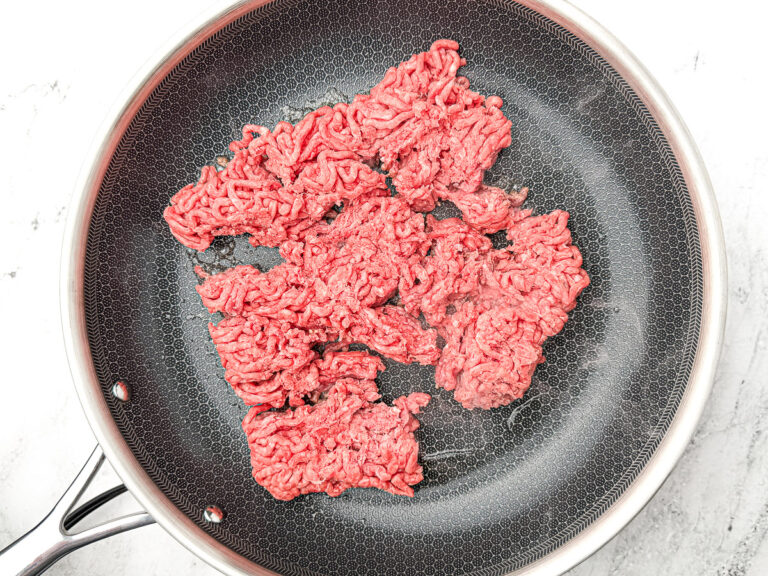
Step 1. Brown and Drain the Beef
Heat 1 tablespoon of olive oil in a large skillet over medium-high heat. Add the 1 lb of ground beef, seasoning with salt and black pepper, and cook until browned. This step creates the flavor that seasons the rice from the inside out when baking together.
- Pro Tip: I found that once the beef is cooked, it's best to use a slotted spoon to transfer it to a plate and drain the accumulated fat from the skillet. We did not do this step the first time we cooked this recipe and it turned out too oily, so we adjusted this step next time around for a savory rather than oily taste.

Step 2. Sauté the Aromatics
In the same skillet (to capture those flavorful browned bits), add the diced onion, drained diced tomatoes, and minced garlic. Sauté these together until the onions are softened and the garlic is fragrant.

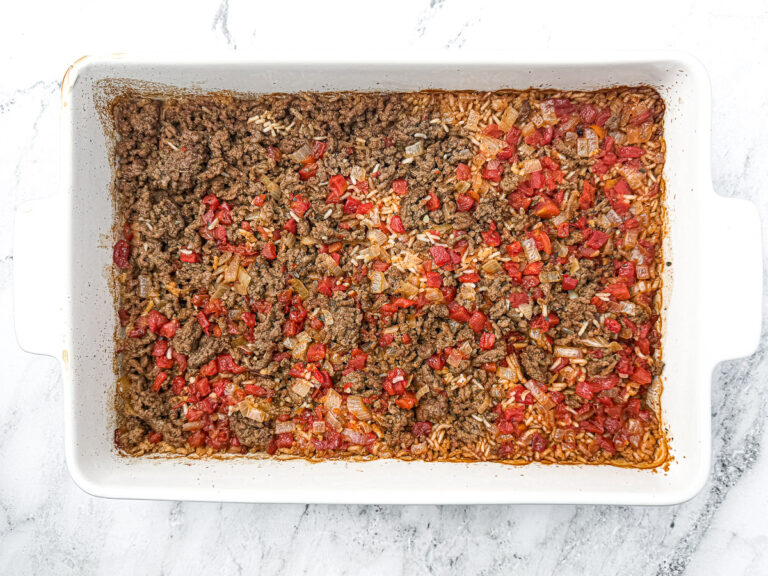
Step 3. Assemble in the Baking Dish
Transfer the browned beef and the sautéed tomato and onion mixture into your oven-proof baking pan. Stir in the 1.5 cups of uncooked rice, 3 cups of beef broth, the salt and pepper, paprika, and Italian herbs. Give it a good stir to ensure the spices and rice are evenly distributed.
- Pro Tip: Add 2 tablespoon of Butter for extra richness without adding extra liquid.

Step 4. The First Bake (The Steam Phase)
Cover the pan tightly with aluminum foil to trap the steam needed to cook the rice. Place it in the oven and bake for 35 minutes at 375 F.

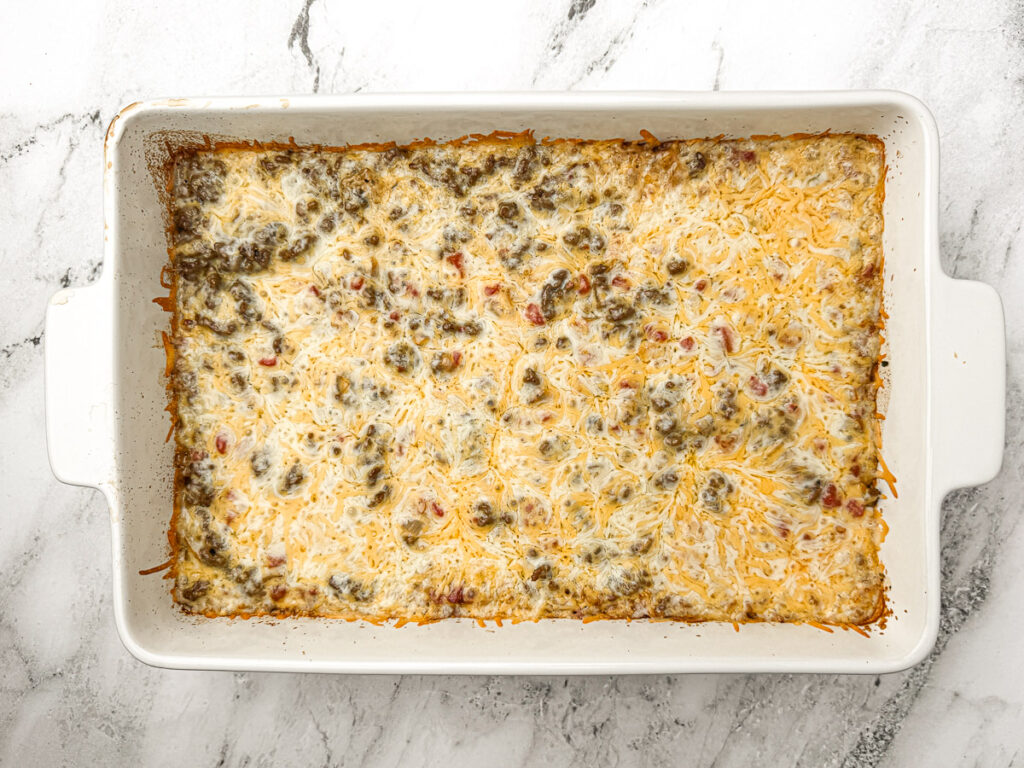
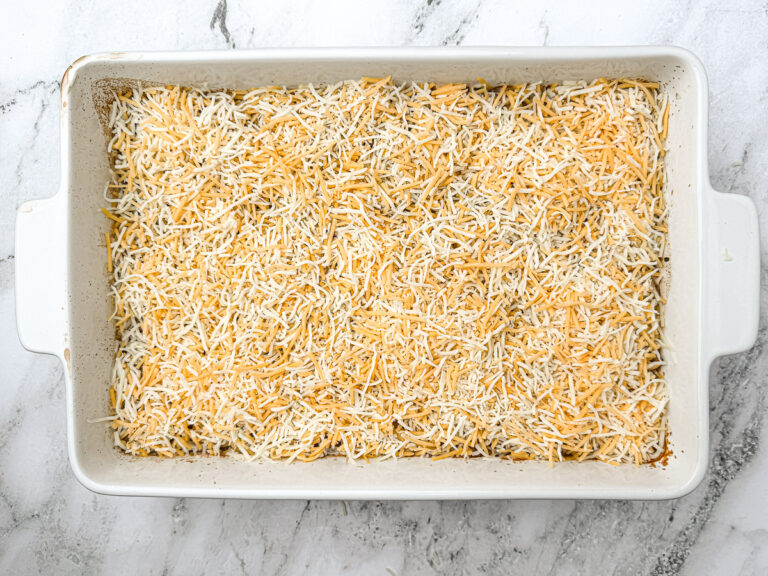
Step 5. The Cheesy Finish
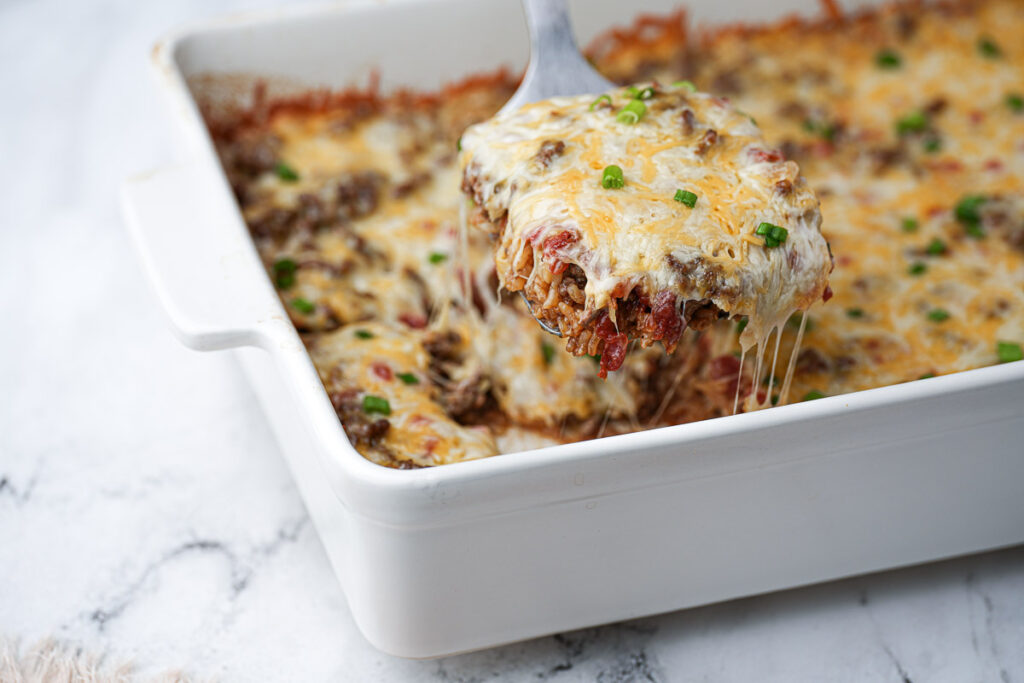
Carefully remove the foil - watch out for the steam! - and sprinkle the 2 cups of shredded cheddar cheese evenly over the top. Return the casserole to the oven, for another 10-15 minutes until the cheese is melted, bubbly, and golden.
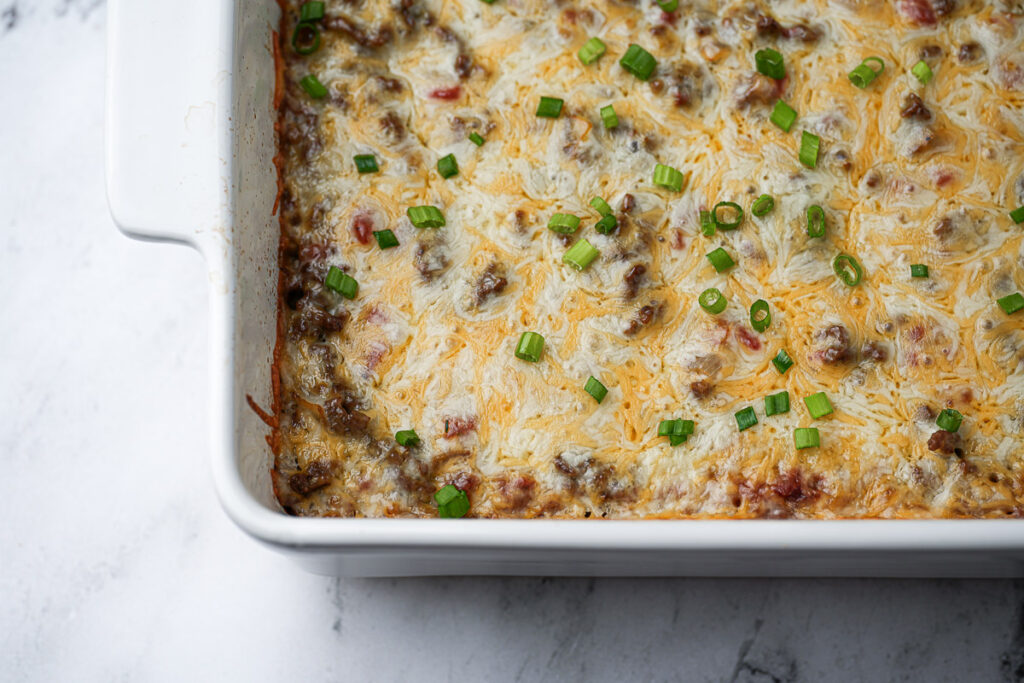
Step 6. Garnish and serve
Garnish the Ground Beef and Rice Casserole with diced scallions or parsley and serve while still hot.

Expert Tips for the Best Ground Beef and Rice Casserole
To truly elevate this dish from a standard weeknight meal to a dining experience, it comes down to the small technical details. Since we are skipping the processed shortcuts of canned soups, these tips ensure your from-scratch version is great every time.
- Drain the fat - I cannot emphasize this enough: after you brown your ground beef, you have to drain the rendered fat. While fat usually equals flavor, too much of it in a casserole results in an oily sauce that weighs down the rice. By using a slotted spoon to remove the meat and wiping out the excess grease, you ensure the savory beef broth remains the star of the dish, and the rice doesn't end up full of an oily texture.
- Seal the Foil Tight - Because this recipe uses uncooked rice, the environment inside your baking dish is essentially a mini pressure cooker. If steam escapes, your rice will stay crunchy.
- Drain the tomatoes juice - The liquid-to-rice ratio is a science in no-boil recipes. My recipe calls for one can of diced tomatoes, well-drained. If you include the packing juice from the can, you add roughly ½ cup of extra liquid, which can turn your fluffy rice into a mushy consistency. Always use a mesh strainer to get those tomatoes as dry as possible before adding them to the skillet.
- Fluff the rice - When the 35-minute timer goes off and you remove the foil to add the cheese, take 10 seconds to fluff the rice with a fork. This redistributes any settled juices and ensures the grains on the bottom don't get packed down.
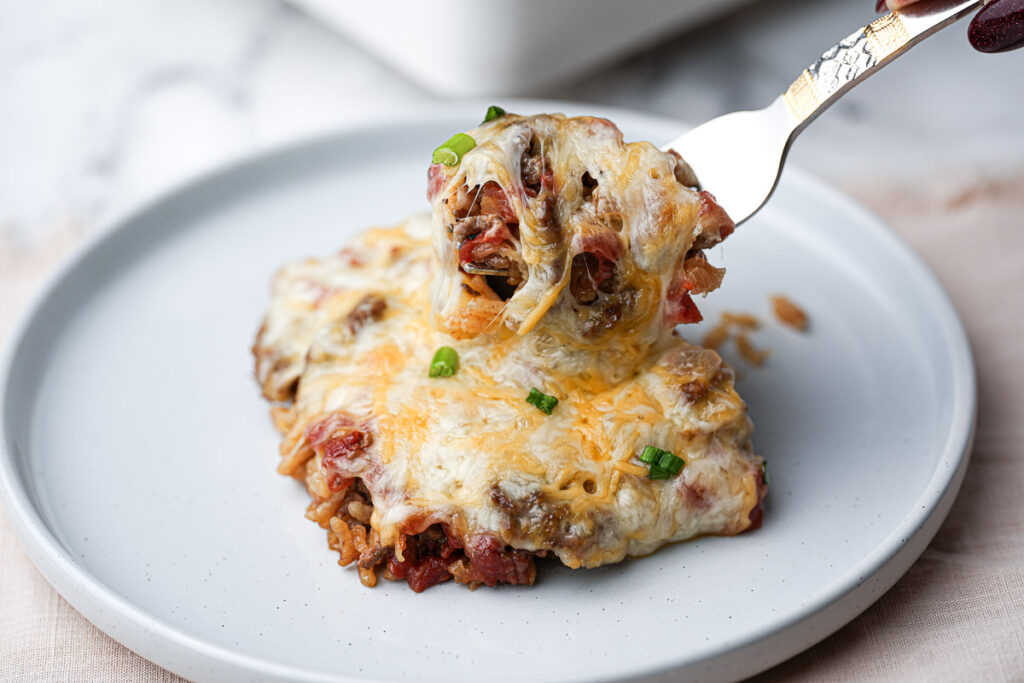
- Let it rest - After the final 15 minutes of baking, let the casserole sit on the counter for 5 minutes before serving. This "rest" allows the starch to set, making the portions easier to scoop and serve.
- Understand your pan's physics - If you want to be extra precise, the type of baking dish you use can slightly affect how the rice absorbs liquid.
- Glass and ceramic: These are "insulators." They take longer to heat up but retain heat for a long time. If using a heavy ceramic dish, your rice may need an extra 5 minutes of "steam time" under the foil to reach perfect tenderness. I use a ceramic pan for this recipe so my total bake time is adjusted to take that into account.
- Dark metal: Dark surfaces absorb heat aggressively. If you are using a dark-colored metal pan, I recommend reducing the oven temperature by 25°F (to 350°F) to prevent the bottom layer of rice from scorching before the liquid in the center has fully evaporated.
- Shiny aluminum: This is the "pro-choice" for even heat conduction. It heats up and cools down quickly, providing the most consistent result for the "Precision Liquid Ratio" we use in this recipe.
What to Serve with Ground Beef and Rice Casserole
Because this from-scratch casserole is hearty and savory, the best side dishes are those that offer a fresh, crisp contrast to the melted cheese and tender rice.
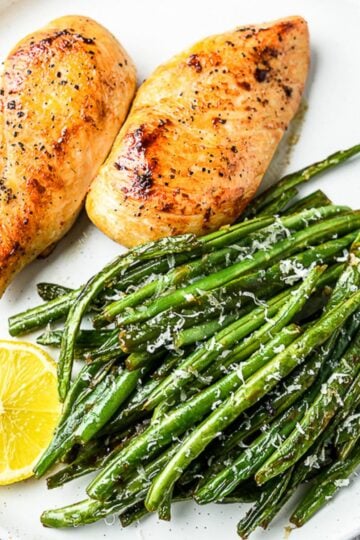
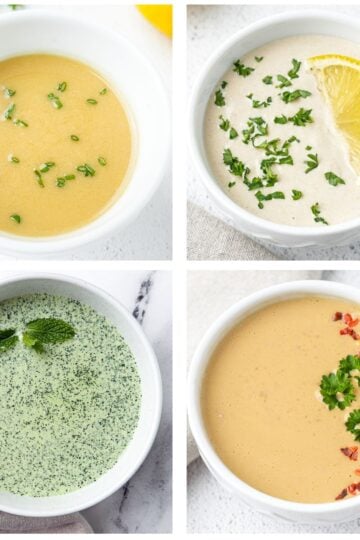
- A Crisp Green Salad: A simple arugula or romaine salad with a bright lemon vinaigrette is the perfect pairing. The acidity of the dressing cuts through the richness of the ground beef and cheddar cheese.
- Garlic Parmesan Roasted Broccoli: Roasting broccoli at a high temperature provides a wonderful texture contrast to the soft casserole.
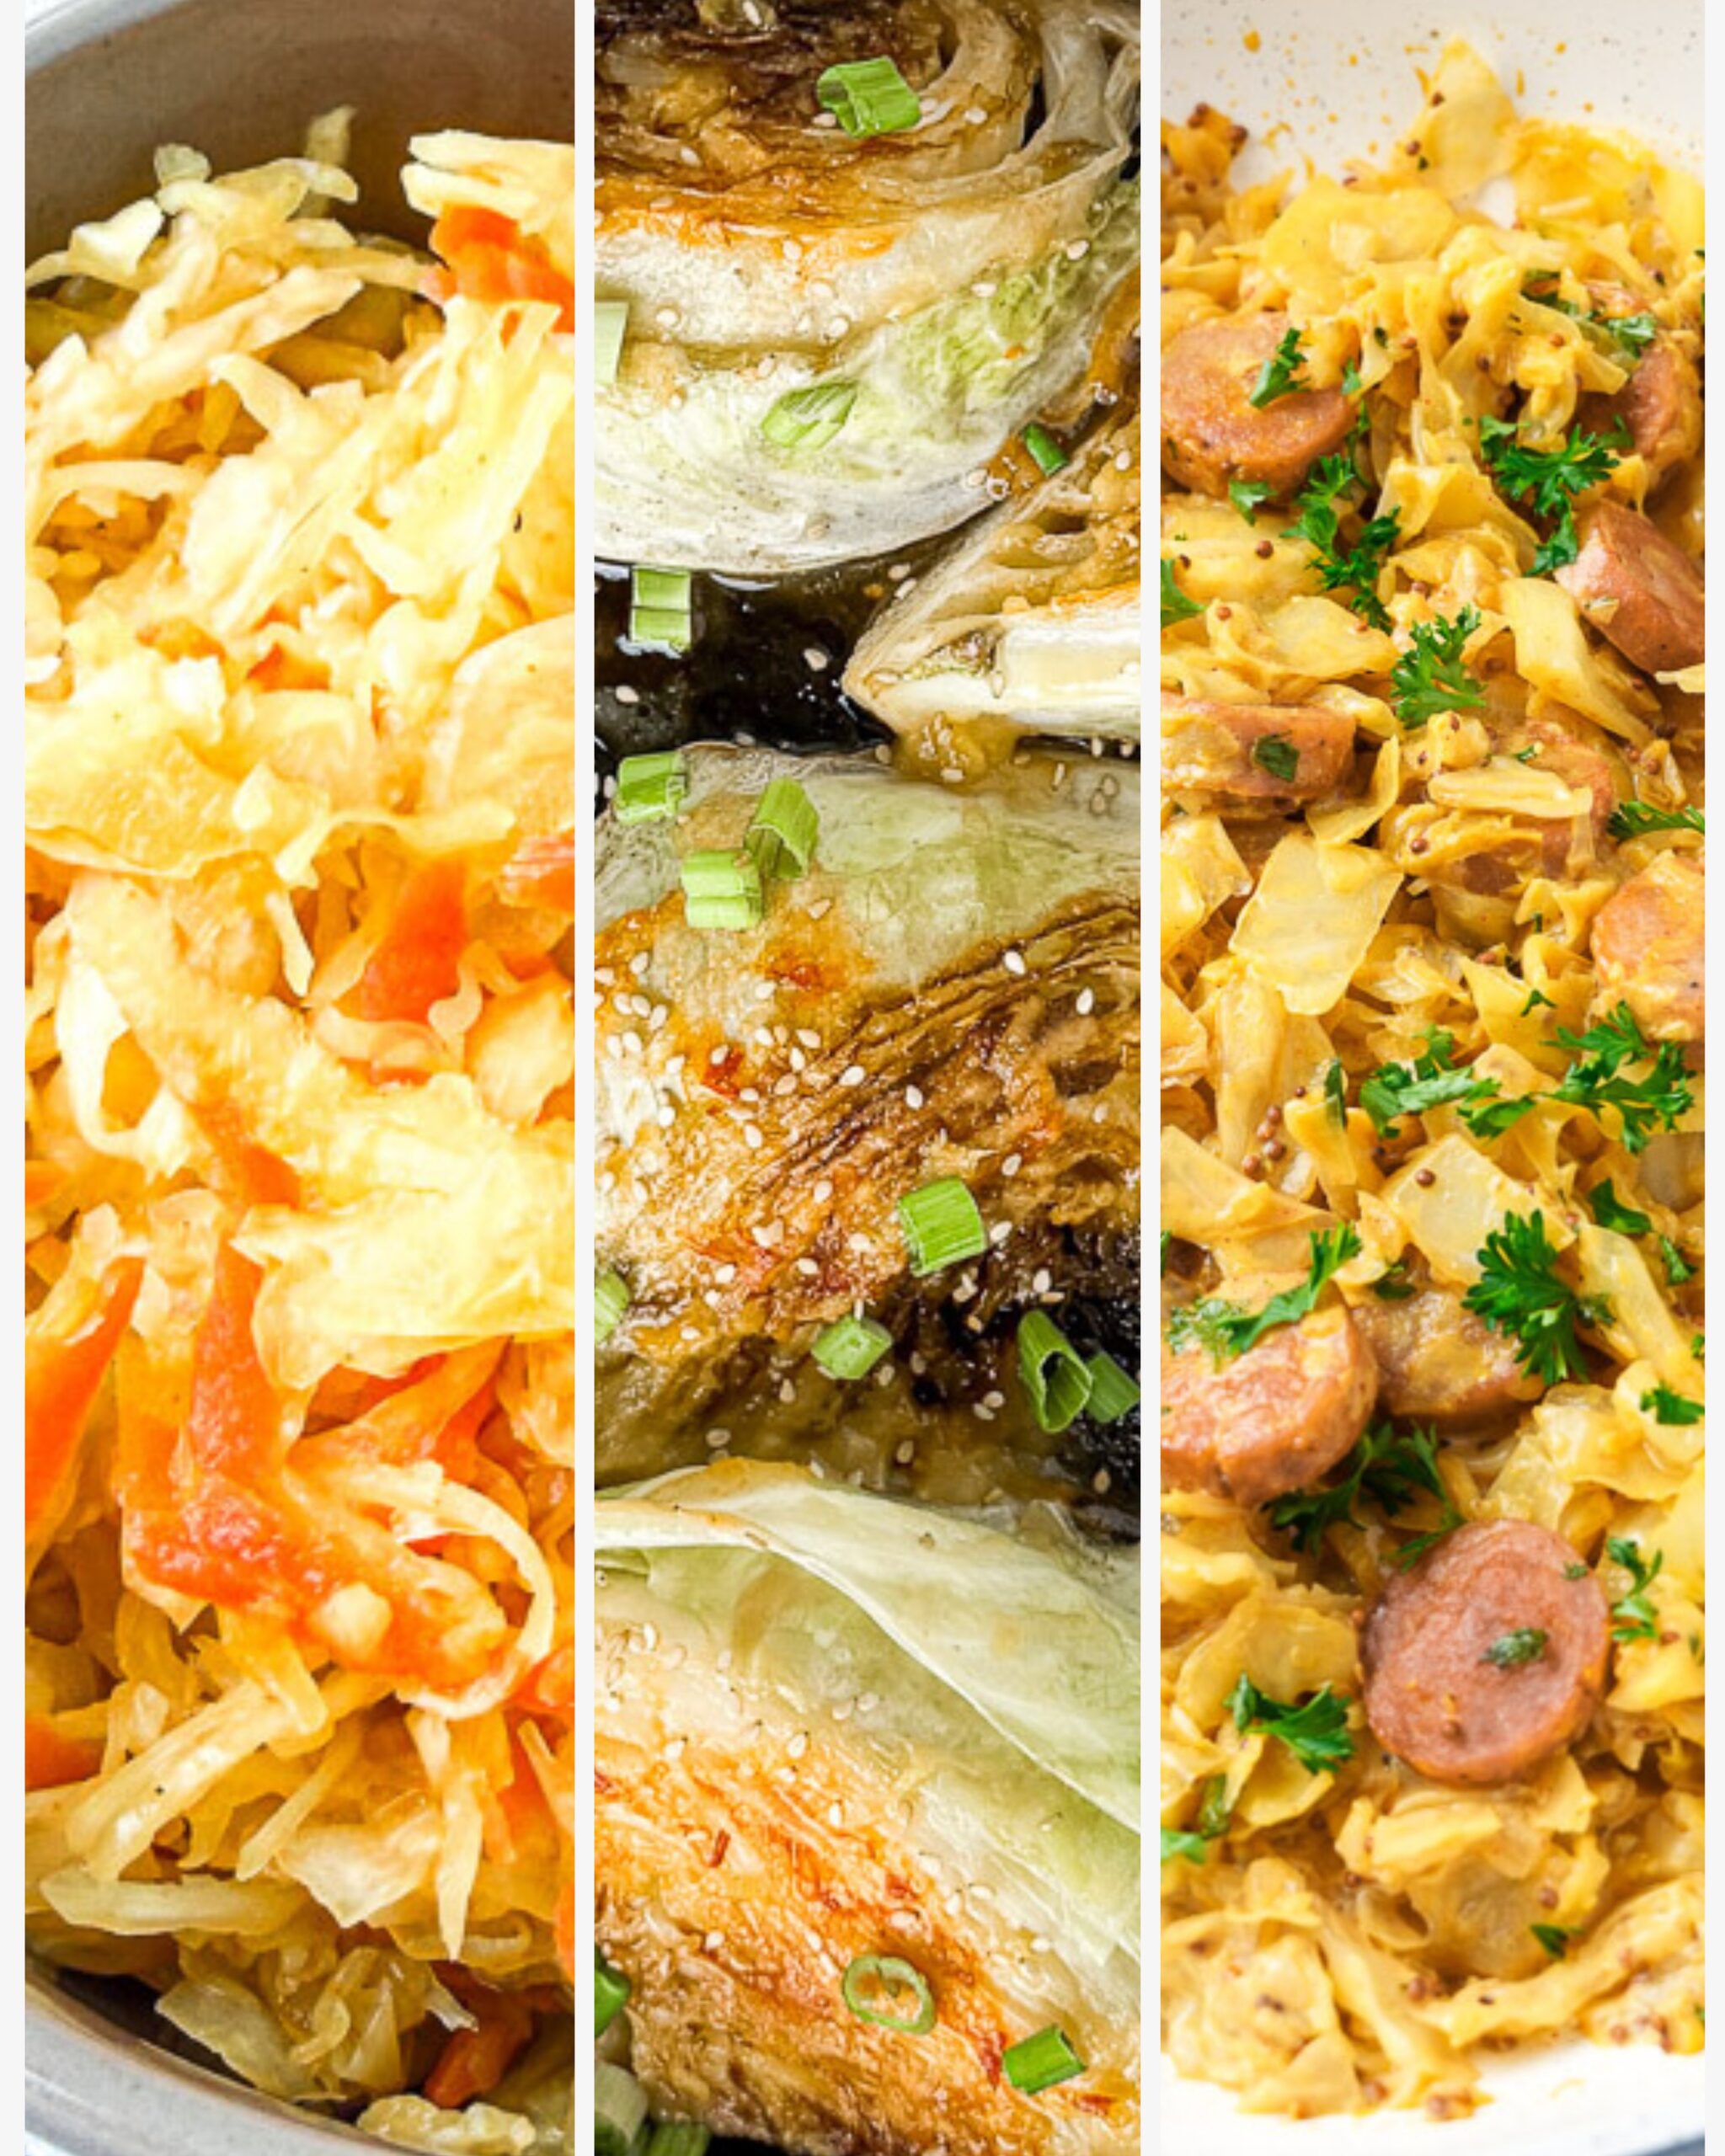
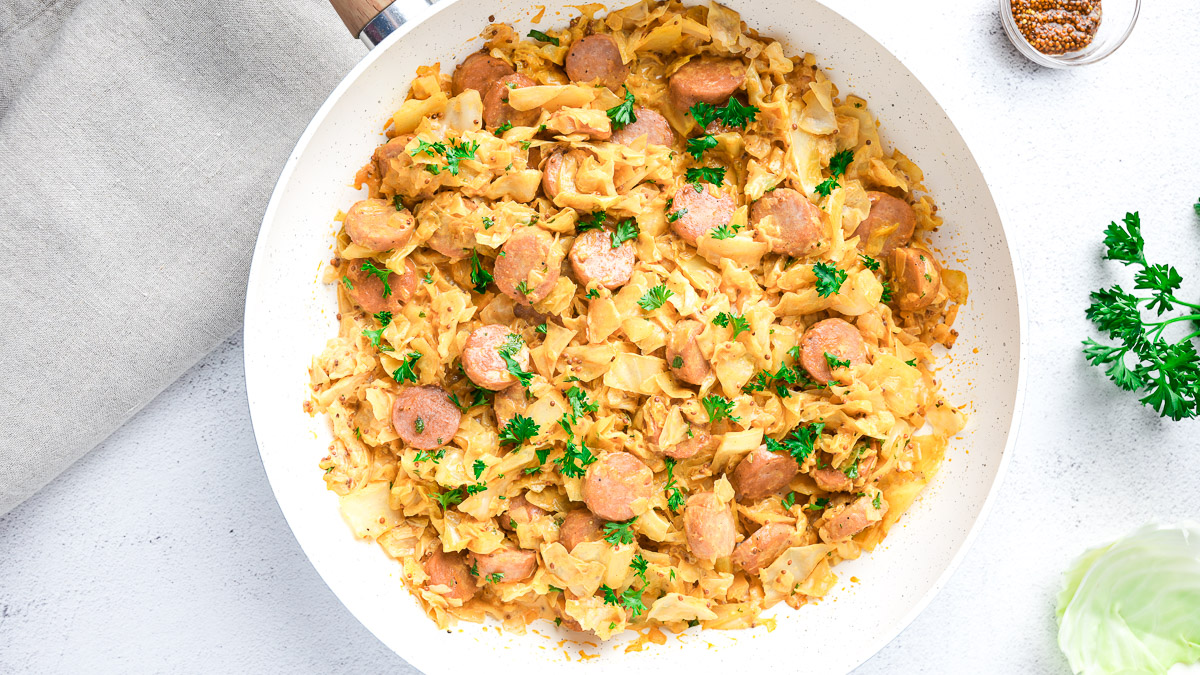
- Melting Cabbage Wedges: Serve a side of seared cabbage wedges. It adds a massive boost of fiber to your dinner!
If you are looking for more high-protein dinner solutions, our One-Pot Cajun Chicken Pasta uses a similar flavor-base technique.
Recipe Variations and Ingredient Substitutions
One of the reasons this Ground Beef and Rice Casserole is a staple in my kitchen is how easily it adapts to what you have in your pantry or your specific dietary goals. Because we aren't relying on a "fixed" canned soup base, you have the freedom to swap ingredients without ruining the integrity of the dish.
The Cabbage Roll Twist for Maximum Fiber
You can easily transform this recipe into a Deconstructed Cabbage Roll Casserole. Add 2 cups of thinly shredded green cabbage to the skillet when you sauté your onions. The cabbage softens beautifully during the bake, adding bulk and nutrients without extra calories.
Swap your Protein
While ground beef is the classic choice for comfort, this recipe works beautifully with other lean proteins:
- Ground Turkey or Chicken
- Chicken Sausage: Sliced Bilinski's Chicken Sausage adds a unique flavor.
- Plant Based Crumbles - if opting for a vegetarian option, high-quality, plant-based crumbles can be used instead of beef.
Rice Alternatives
- Brown Rice: If you prefer the nuttier flavor of brown rice, you will need to increase the beef broth to 3.5 cups and the initial "covered" bake time to 50-60 minutes to ensure the grains are fully tender.
- Low-Carb Cauliflower Rice: To make this keto-friendly, replace the uncooked rice with 3 cups of cauliflower rice.
Important Note: Reduce the beef broth to only ½ cup, as cauliflower releases significant moisture as it bakes.
Add a Kick of Heat
If your family enjoys spice, stir in a 4-ounce can of diced green chiles or a teaspoon of red pepper flakes when adding the beef broth. This adds a "Modern Southwestern" flair that pairs perfectly with the melted cheddar.
Storage and Reheating Instructions
Because this Ground Beef and Rice Casserole is made without heavy canned soups, it actually stores and reheats better than traditional versions. The rice stays distinct and flavorful, making this a perfect "Elite" solution for your weekly meal prep.
How to Store Leftovers
Before storing, allow the casserole to cool completely to room temperature to prevent condensation from making the topping soggy.
- In the Refrigerator: Place the leftovers in an airtight container and store for up to 4 days.
- In the Freezer: This dish can be frozen for up to 2 months. For the best results, I recommend freezing individual portions in glass containers, which makes for an office lunch that can go straight into the microwave.
How to Reheat leftovers
The biggest challenge with reheating rice-based casseroles is that rice is a "thirsty" grain. It continues to absorb moisture from the sauce as it sits, which can lead to a dry texture the next day.
- The Moisture Secret: Before reheating, add a tablespoon of beef broth or water per cup of casserole over the top of the portion. This creates a small amount of steam that re-hydrates the rice.
- Microwave Method: Add beef broth or water according to the note above and cover the dish loosely with a damp paper towel. Heat in 60-second intervals until steaming hot throughout. This creates a steam cycle that restores the fluffiness of the rice without making the beef rubbery.
- Oven Method: If you are reheating a larger portion, add beef broth or water then place it in an oven-safe dish and cover it with foil. Bake at 350°F for 15-20 minutes. This helps the cheese stay melty without drying out the beef.
Frequently Asked Questions
Why is my rice still crunchy after baking?
Can I use brown rice instead of white rice?
Why was my beef and rice casserole greasy?
Can I make this casserole ahead of time?
Do I need to cook the rice before adding it?
Loved this recipe? Try these easy fan-favorite dinner recipes next:

Easy Ground Beef and Rice Casserole (No Canned Soup!)
Equipment
- Heavy-duty Aluminum Foil
Ingredients
The Skillet Base
- 1 lb Lean Ground Beef (90/10)
- 1 tablespoon Olive Oil
- 1 Yellow Onion medium, diced
- 5 Garlic cloves minced
- 1 can Diced Tomatoes 14.5 oz, well-drained
The Casserole Body
- 1.5 cups Uncooked Long-Grain White Rice
- 3 cups Beef Broth Bone Broth preferred
- 1 teaspoon Paprika
- 1 teaspoon Italian Herbs
- Salt and Black Pepper to taste
The Topping
- 2 cups Shredded Cheese
- Scallions for garnishing
Instructions
- Preheat & Prep: Preheat your oven to 375°F (190°C).
- Brown the Beef: In a large skillet, heat olive oil over medium-high heat. Add ground beef, season with salt and pepper, and cook until browned. Important: Drain the excess fat using a slotted spoon or paper towel.

- Sauté Aromatics: To the same skillet, add the diced onion, drained tomatoes, and garlic. Sauté for 3-4 minutes until the onions are soft and fragrant.

- Assemble: In a 9x13 baking dish, combine the beef mixture, uncooked rice, beef broth, paprika, and Italian herbs. Stir well to ensure the spices and rice are evenly distributed.
- The Steam Phase: Cover the dish tightly with a layer of aluminum foil, crimping the edges to create a perfect seal. Bake for 35 minutes.
- The Cheesy Finish: Carefully remove the foil and fluff the rice with a fork. Sprinkle the shredded cheddar cheese evenly over the top.
- Final Bake: Cover and return the dish to the oven. Bake for an additional 15 minutes until the cheese is melted and bubbly.
- Rest: Let the casserole sit for 5 minutes before serving to allow the starches to set for perfect portions. Garnish with diced scallions or parsley.


Notes
- The Foil Seal: A tight seal is mandatory for no-boil rice; if steam escapes, the rice will remain crunchy.
- Drain the Tomatoes: Ensure your tomatoes are well-drained to maintain the precise 2.5:1.5 liquid-to-rice ratio.